Introduction: Step by step instructions for planting Bermuda grass plugs from sod with the ProPlugger
Watch the video or follow the directions below
Directions
Step 1: Plant a small area of Bermuda sod
- Water the sod according to usual recommendations
- Wait 3 weeks for the sod to root in before plugging
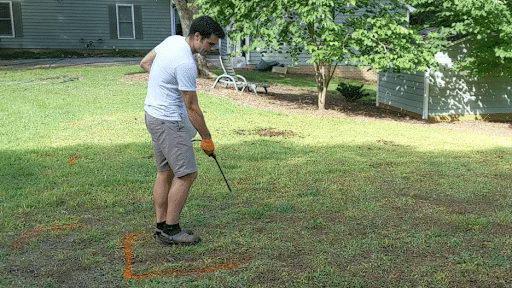
Step 2: Kill the grass or weeds in the area you will be planting the plugs
Chemicals
- Glyphosphate
- This will kill the existing grass or vegetation
- The old brand name is Round-Up, but there are many formulations
- I use Hi-Yield Killzall
- Follow the directions on the label for mixing and spraying
- Spray it, wait a week, spray it again, wait a week, and it’s ready for plugging
- Ronstar
- Ronstar will prevent weed seeds from sprouting
- It is a little expensive, but significantly reduces weed growth
- Spread it out a week before plugging
Tilling
- This will get rid of your existing grass without the need for chemicals
Solarizing
- Solarizing involves tilling, watering, and then covering an area with clear plastic during the summer for at least 4 weeks. This is a more involved process but comes with the benefit of killing seeds in the ground, which the other methods don’t do
Step 3: Water the Bermuda sod and planting area the night before plugging
- Moist soil is much easier to plug than dry soil, particularly if your soil has a heavy clay content
- Don’t over water
- If soil gets too muddy the plugger may clog up, or plugs may have difficulty coming out of the ground
- Here is a link on how to deal with clogs while using the ProPlugger
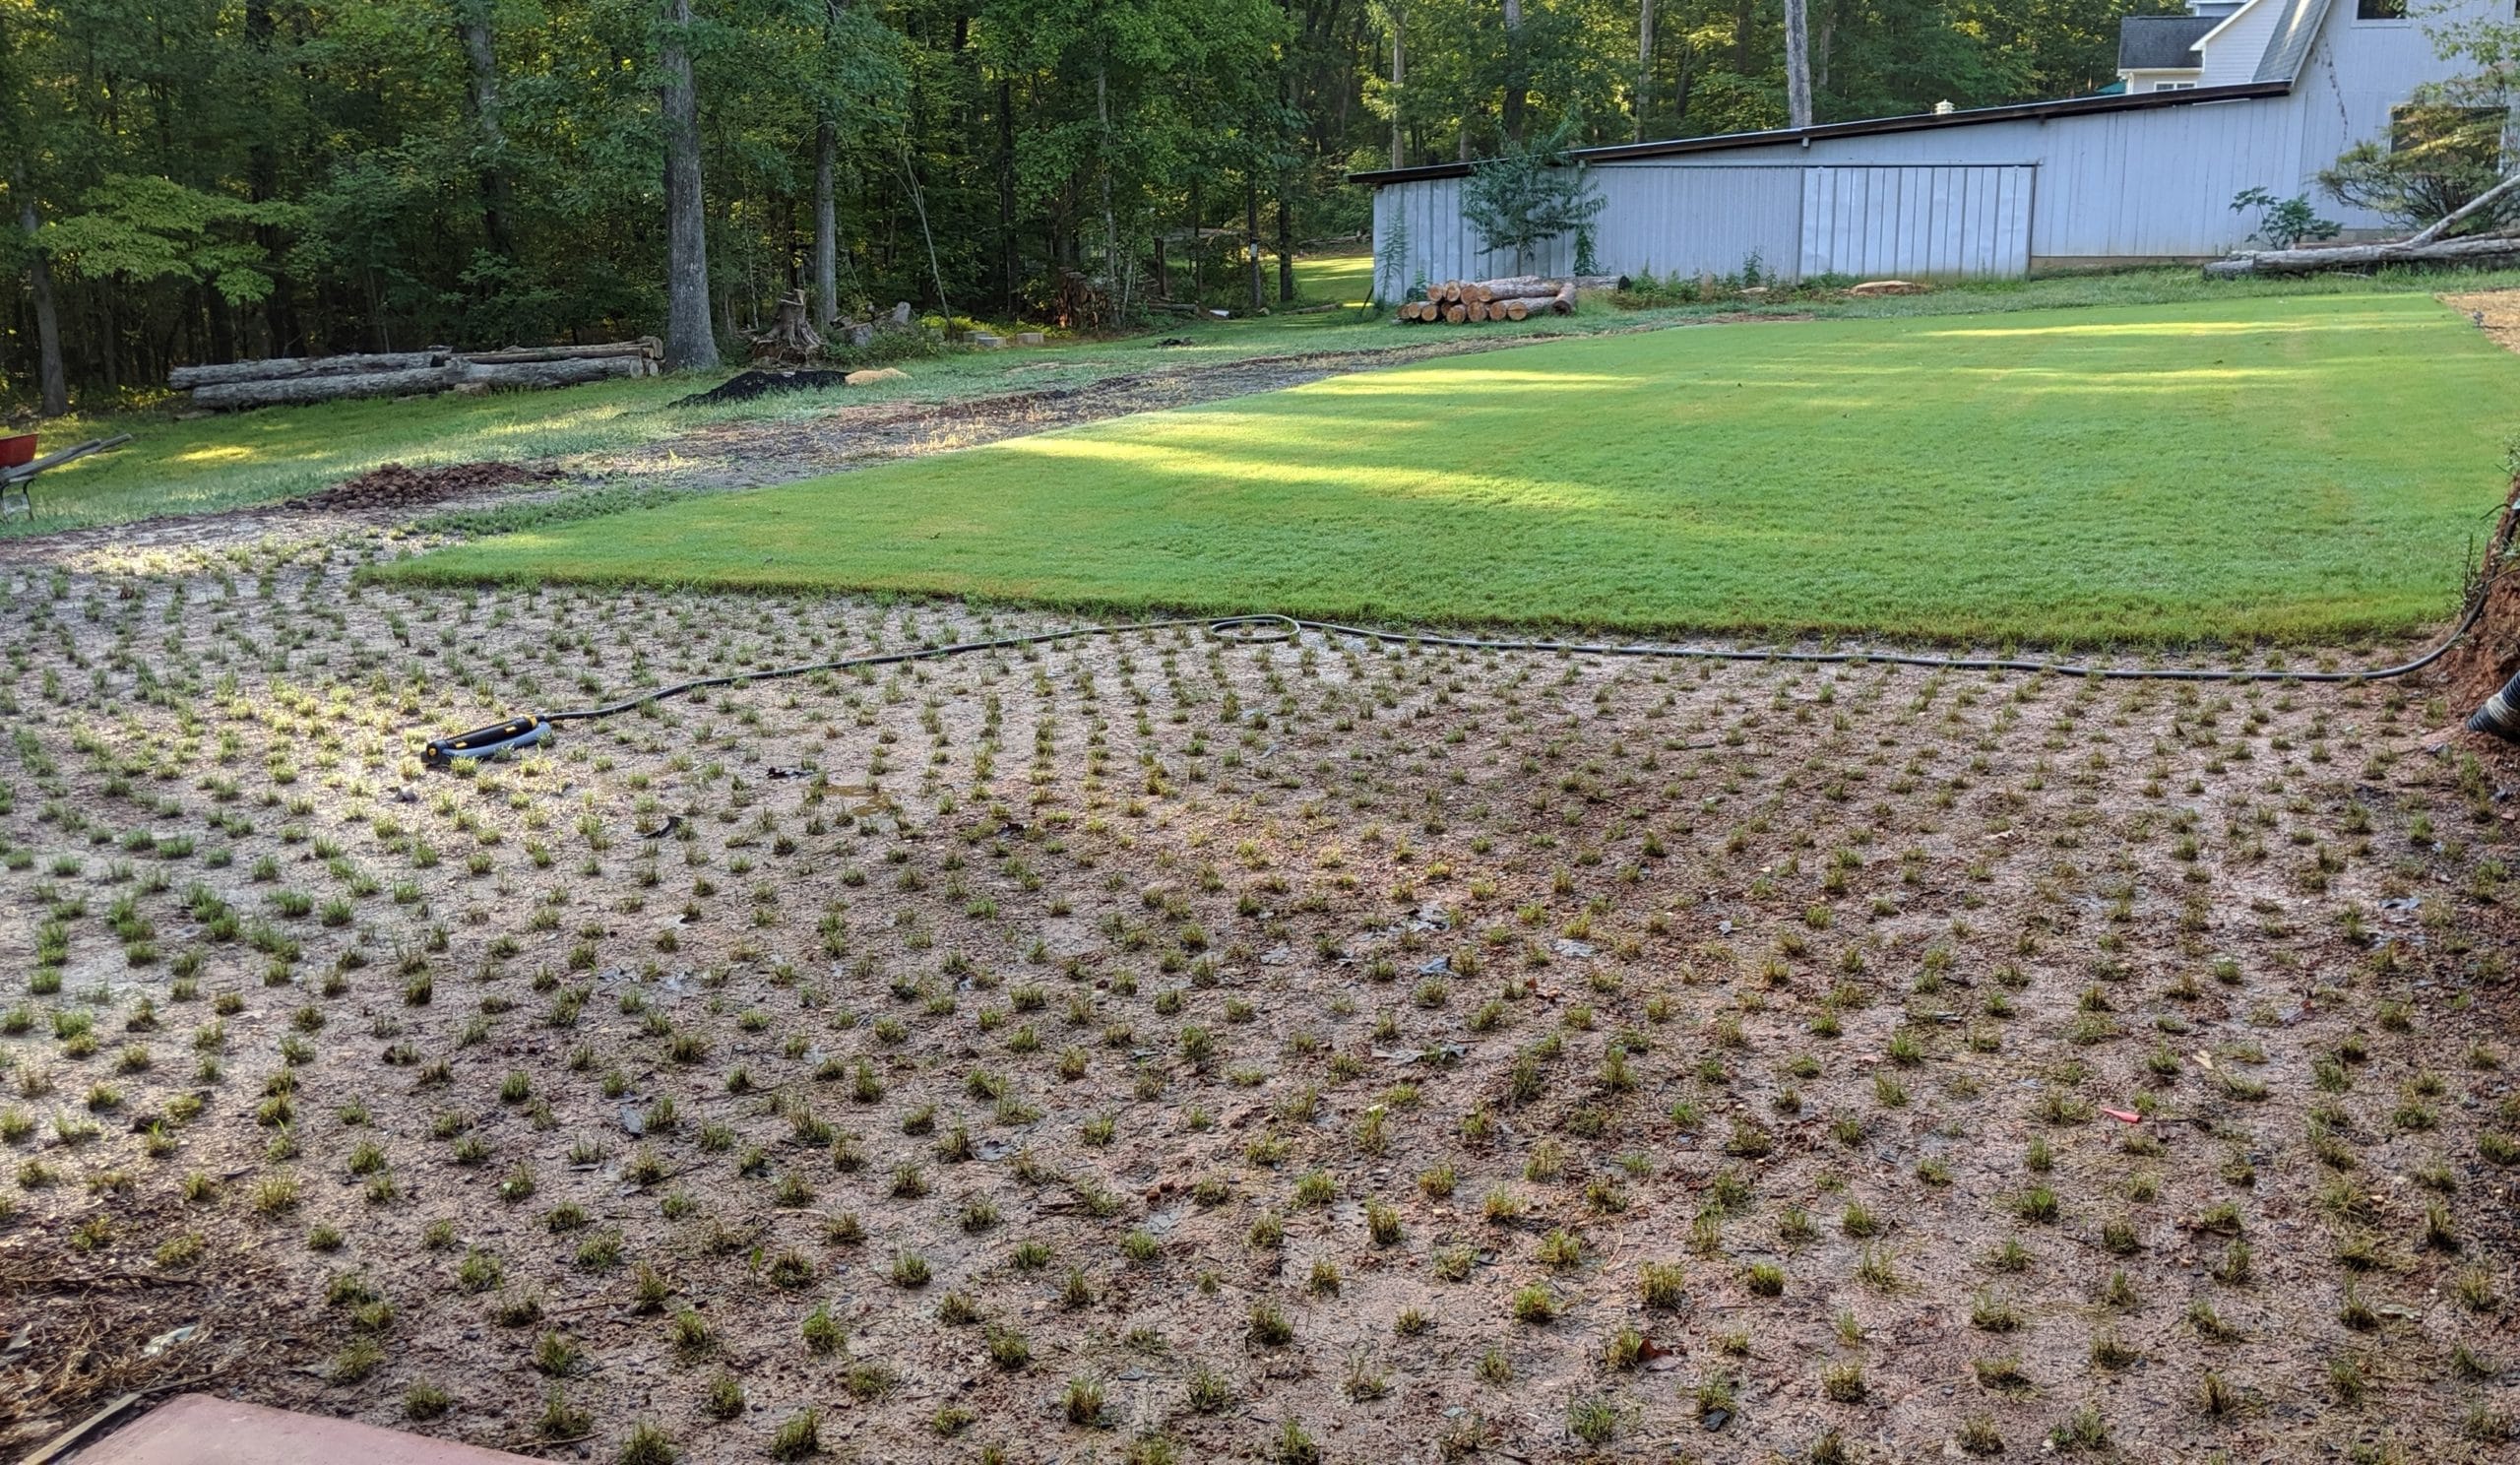
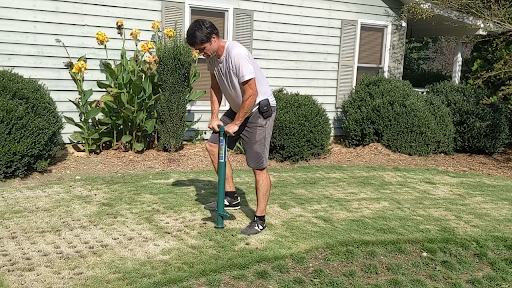
Step 4: Take plugs out of the planting area 6″ apart
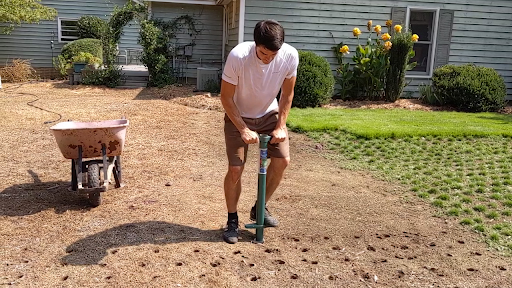
- Use the 2” depth ring
- You can use the 4″ depth ring if you are transplanting from established grass and want to keep all 4″ of roots
- Dump your plugs into a wheelbarrow
- Dispose of this soil
- You can keep this soil for Step 8 if it doesn’t have weed seeds in it
- If your soil is really hard to plug, try watering it again before plugging it
- Wait a little while after watering it to plug. It takes a while for the water to go all the way through the soil
- If your having trouble with your plugger clogging follow these instructions to unclog the ProPlugger and prevent future clogs
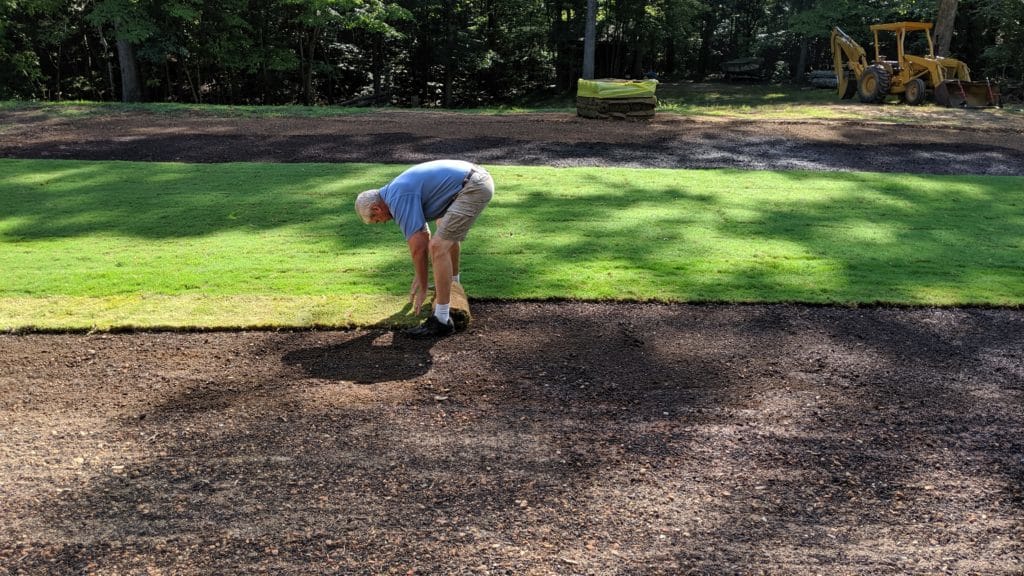
Step 5: Take plugs out of the Bermuda sod 3″ apart
Step 6: Take the plugs over to the planting area
- You must be gentle with the plugs when transporting them
- Some soils can crumble if you aren’t careful
- If you transport your plugs with a wheel barrow and your soil is crumbly take the following precautions
- Don’t stack plugs too high. The ones on top can crush the ones on the bottom
- Carefully dump the plugs on the ground, or take them out of the wheel barrow by hand
Step 7: Plant the Bermuda plugs
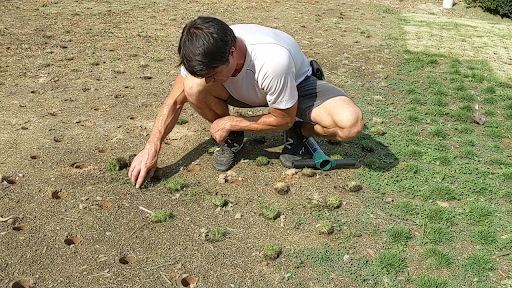
- Sometimes when you are taking plugs you run into rocks or roots
- Sod plugs or holes you plugged can end up being too short
- You can still plant these plugs
- Remove some soil from the bottom of the plug if it sits too high
- Add some loose soil into the hole if the plug sits too low
Step 8: Fill up the holes you plugged in the Bermuda sod
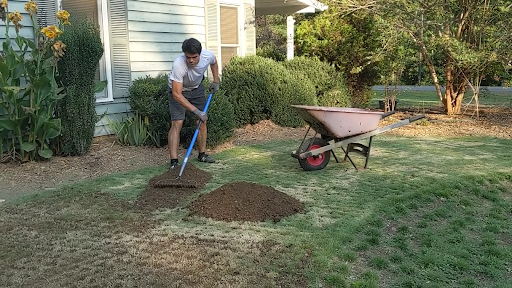
- Use a commercial soil mix that doesn’t have weed seeds in it
- Rake it back and forth until it fills the holes
- Mowing the sod short before plugging also helps the soil rake into the holes easily
Step 9: Water the new Bermuda grass plugs
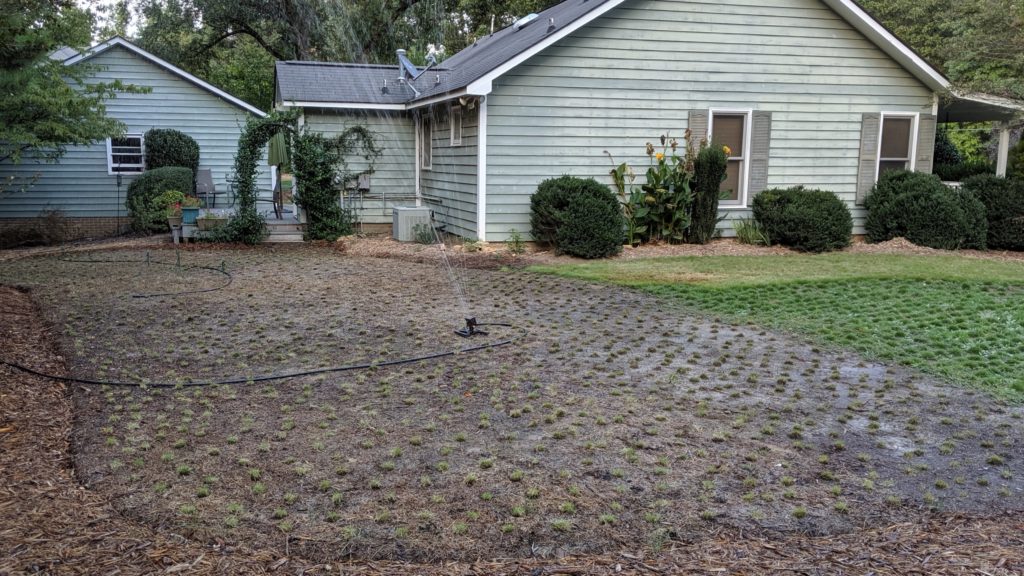
- Water the new Bermuda grass plugs just as you would new sod
- Your watering schedule will probably look something like this
- Weeks 1 – 2: 3 times a day for 20 minutes
- Week 3: 2 times a day for 20 minutes
- Week 4: Once daily
- Thereafter: Follow the normal watering recommendations for the grass you are plugging
- This is the schedule I use, but you need to adjust it for how hot your climate is and your soil type
- These links will help you determine your watering schedule
- Use a watering timer
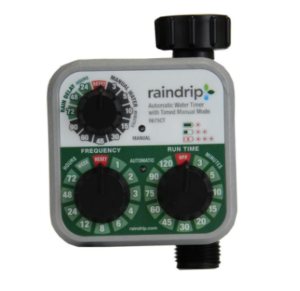
- You can purchase timers online or at home improvement stores.
- They can be a bit tricky to learn at first, but once you get the hang of it they are invaluable time savers.
- Use sprinklers that are adjustable in both directions
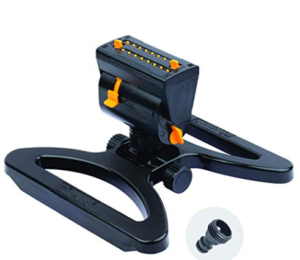
- This makes watering more accurate
Step 10: Water the Bermuda sod you plugged from
- Usually twice a week for 3 weeks
- After that just follow the normal watering directions for your grass you are plugging
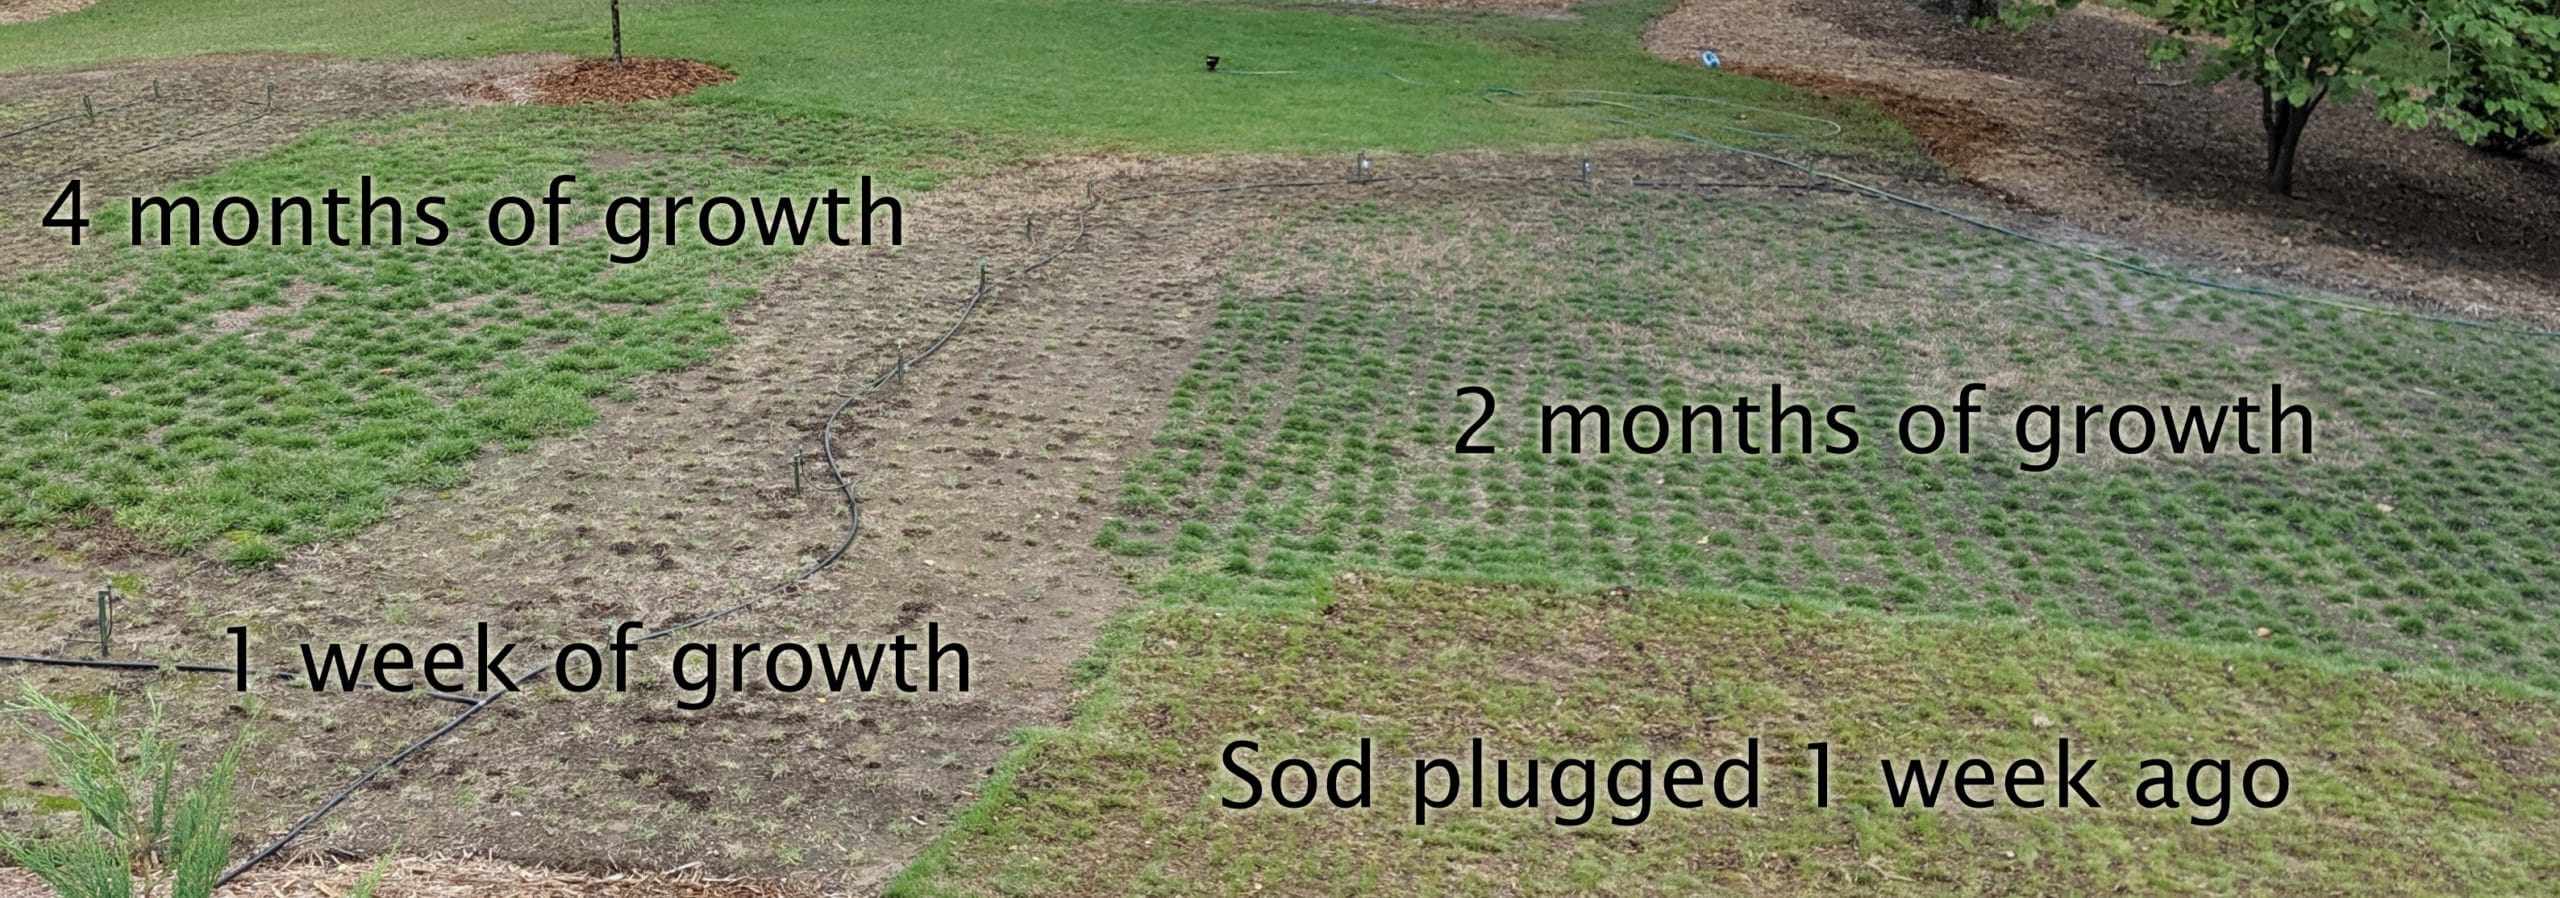
Step 11: Wait 6 weeks for the sod to regrow, then plant another section of plugs
- You can plug an area 3 to 4 larger than the sod you are plugging from
- For example: If you have 1 pallet of sod (~450 sq ft) you can plug about 1,200 – 1,600 sq ft.
- That is if you take plugs out of your sod every 3” apart and plant every 6” apart
- The first time you plug new sod, you’ll probably get 3 times the area of sod, because you have to be careful plugging around edges of sod pieces that fully haven’t grown in together
- The second time around, and thereafter you should be able to get 4 times the area of plugs from your sod
- Plugs usually fill in within 1 year. Though it may take 2 years depending on conditions
Additional Information
Follow this link for additional, more detailed information